Getting Started with Ethereum Development
This is a beginners guide to getting started with Ethereum development. For this tutorial we'll be using Alchemy (opens in a new tab), the leading blockchain developer platform powering millions of users from 70% of the top blockchain apps, including Maker, 0x, MyEtherWallet, Dharma, and Kyber. Alchemy will give us access to an API endpoint on the Ethereum chain so we can read and write transactions.
We’ll take you from signing up with Alchemy to writing your first web3 script! No blockchain development experience necessary!
1. Sign Up for a Free Alchemy Account
Creating an account with Alchemy is easy, sign up for free here (opens in a new tab).
2. Create an Alchemy App
To communicate with the Ethereum chain and to use Alchemy’s products, you need an API key to authenticate your requests.
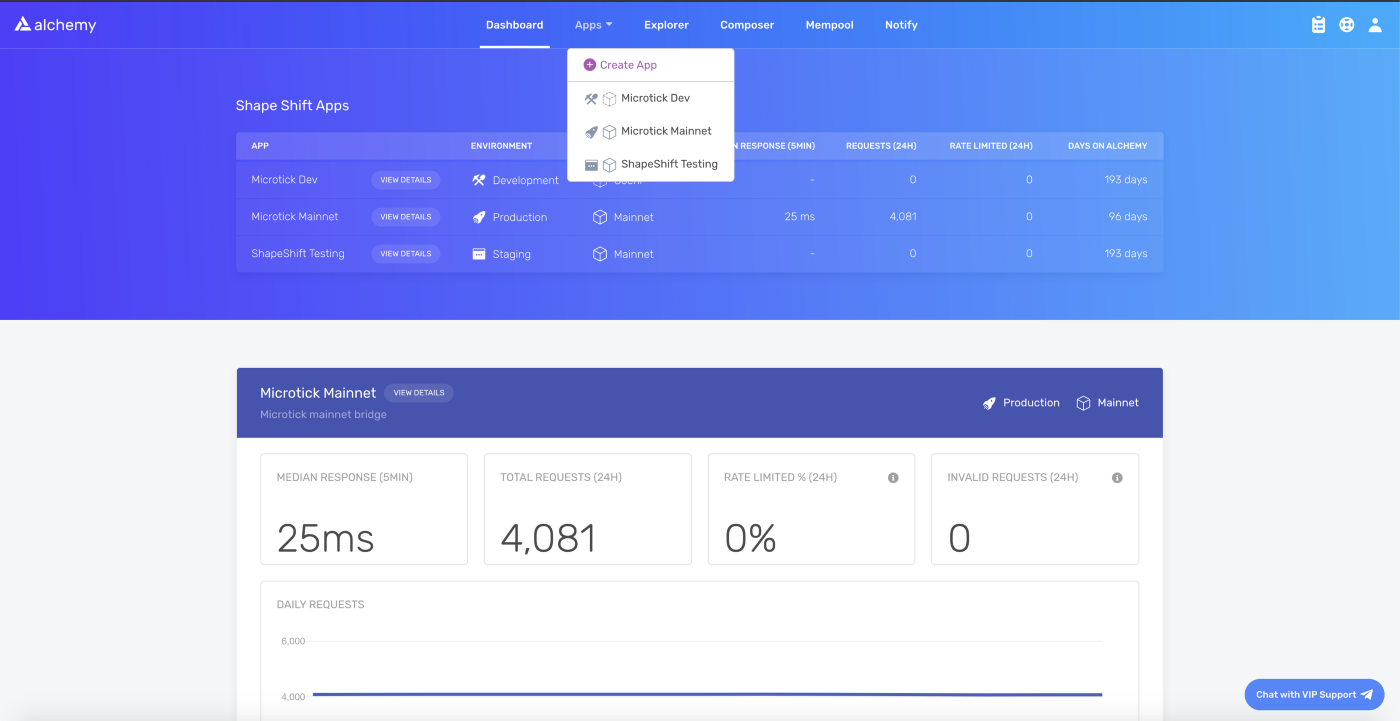
You can create API keys from the dashboard (opens in a new tab). To make a new key, navigate to “Create App” as shown below:
Special thanks to ShapeShift (opens in a new tab) for letting us show their dashboard!
Fill in the details under “Create App” to get your new key. You can also see apps you previously made and those made by your team here. Pull existing keys by clicking on “View Key” for any app.
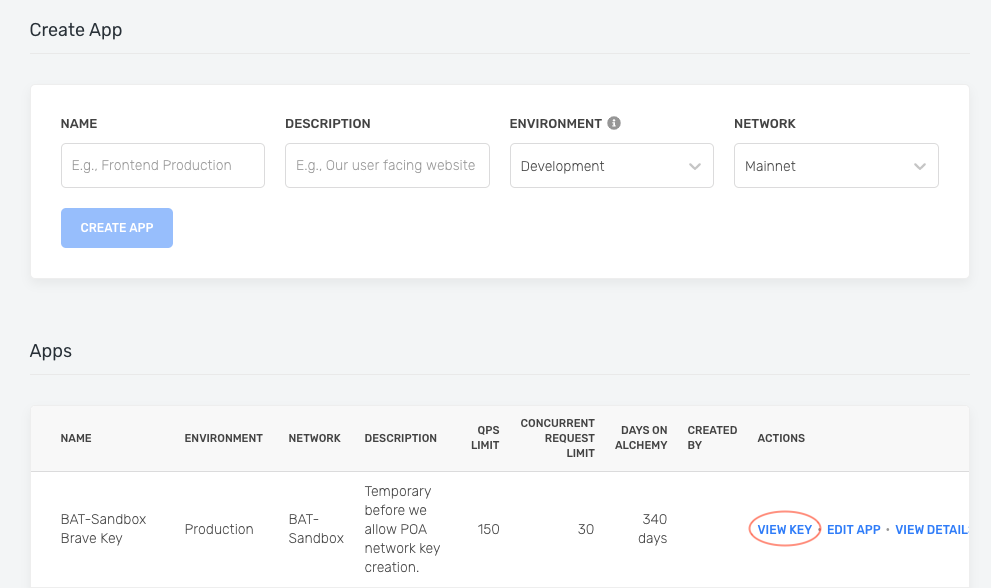
You can also pull existing API keys by hovering over “Apps” and selecting one. You can “View Key” here, as well as “Edit App” to whitelist specific domains, see several developer tools, and view analytics.
3. Make a Request from the Command Line
Interact with the Ethereum blockchain through Alchemy using JSON-RPC and curl.
For manual requests, we recommend interacting with the JSON-RPC via POST requests. Simply pass in the Content-Type: application/json header and your query as the POST body with the following fields:
jsonrpc: The JSON-RPC version—currently, only2.0is supported.method: The ETH API method. See API reference.params: A list of parameters to pass to the method.id: The ID of your request. Will be returned by the response so you can keep track of which request a response belongs to.
Here is an example you can run from the command line to retrieve the current gas price:
curl https://eth-mainnet.alchemyapi.io/v2/demo \
-X POST \
-H "Content-Type: application/json" \
-d '{"jsonrpc":"2.0","method":"eth_gasPrice","params":[],"id":73}'
NOTE: Replace https://eth-mainnet.alchemyapi.io/v2/demo with your own API key https://eth-mainnet.alchemyapi.io/v2/**your-api-key.
Results:
{ "id": 73,"jsonrpc": "2.0","result": "0x09184e72a000" // 10000000000000 }
4. Set up your Web3 Client
If you have an existing client, change your current node provider URL to an Alchemy URL with your API key: “https://eth-mainnet.alchemyapi.io/v2/your-api-key"
NOTE: The scripts below need to be run in a node context or saved in a file, not run from the command line. If you don’t already have Node or npm installed, follow the Node.js installation instructions (opens in a new tab).
There are tons of Web3 libraries you can integrate with Alchemy, however, we recommend using Alchemy Web3 (opens in a new tab), a drop-in replacement for web3.js, built and configured to work seamlessly with Alchemy. This provides multiple advantages such as automatic retries and robust WebSocket support.
To install AlchemyWeb3.js, navigate to your project directory and run:
With Yarn:
yarn add @alch/alchemy-web3
With NPM:
npm install @alch/alchemy-web3
To interact with Alchemy’s node infrastructure, run in NodeJS or add this to a JavaScript file:
const { createAlchemyWeb3 } = require("@alch/alchemy-web3")
const web3 = createAlchemyWeb3(
  "https://eth-mainnet.alchemyapi.io/v2/your-api-key"
)
5. Write your first Web3 Script!
Now to get our hands dirty with a little web3 programming we’ll write a simple script that prints out the latest block number from the Ethereum Mainnet.
1. If you haven’t already, in your terminal create a new project directory and cd into it:
mkdir web3-example
cd web3-example
2. Install the Alchemy web3 (or any web3) dependency into your project if you have not already:
npm install @alch/alchemy-web3
3. Create a file named index.js and add the following contents:
You should ultimately replace
demowith your Alchemy HTTP API key.
async function main() {
  const { createAlchemyWeb3 } = require("@alch/alchemy-web3")
  const web3 = createAlchemyWeb3("https://eth-mainnet.alchemyapi.io/v2/demo")
  const blockNumber = await web3.eth.getBlockNumber()
  console.log("The latest block number is " + blockNumber)
}
main()
Unfamiliar with the async stuff? Check out this Medium post (opens in a new tab).
4. Run it in your terminal using node
node index.js
5. You should now see the latest block number output in your console!
The latest block number is 11043912
Woo! Congrats! You just wrote your first web3 script using Alchemy 🎉
Not sure what to do next? Try deploying your first smart contract and get your hands dirty with some Solidity programming in our Hello World Smart Contract Guide, or keep exploring Alchemy's docs (opens in a new tab) for more examples.
Sign up with Alchemy for free (opens in a new tab), check out our documentation (opens in a new tab), and for the latest news, follow us on Twitter (opens in a new tab).